
In this tutorial, I’ll show you the basic techniques on how to create a realistic illustration using pen, shape, and interactive mesh fill tool in CorelDraw 13.
Originally published in busyok.com

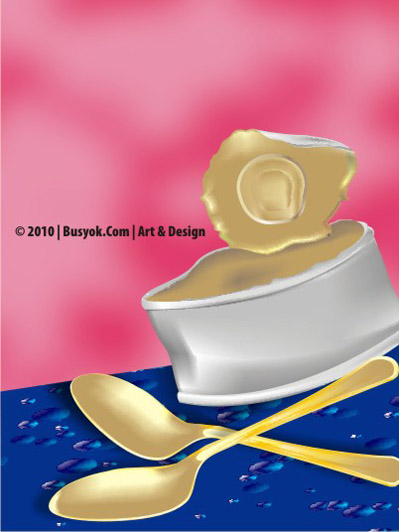
What can you say about this image? Do you want to learn how to do this?

To do this, first, draw the objects using the PEN TOOL (you can also use the freehand tool) and SHAPE TOOL.


Next, fill the objects with color (just like the image below) using the color pallete or fill tool.
Lastly, to create a realistic look, use the INTERACTIVE MESH FILL TOOL. With this, you can create multiple omni-directional color over a single object using a customizable grid structure. Mesh fills can be applied to any vector object not already applied with some other effect.


Applying mesh fill can be the hardest yet the most exciting part so try to enjoy it.
—————
For those who are not familiar with vector drawing, here’s the step-by-step procedure on how to draw a spoon.

Note: This step-by-step procedure is also applicable on Adobe Illustrator just use the ‘convert anchor point tool’ for node and shape editing.
That’s all for today. I hope you enjoy it.

Thanks for joining TARAGIS.COM Eli!
two thumbs up!.. may resident digital artist na tayo.. =)